When dealing with a malfunctioning water heater, a common culprit is often the thermocouple. Understanding the basics of this part, its lifespan, and clear signs of failure is crucial for proper maintenance. We will dive into the specifics and discuss the best methods for testing thermocouple, and detail each step of replacement. Additionally, we will explore when professional help is necessary. By following these guidelines, you can maintain a reliable hot water supply and prevent inconvenient breakdowns.
What is a water heater thermocouple?
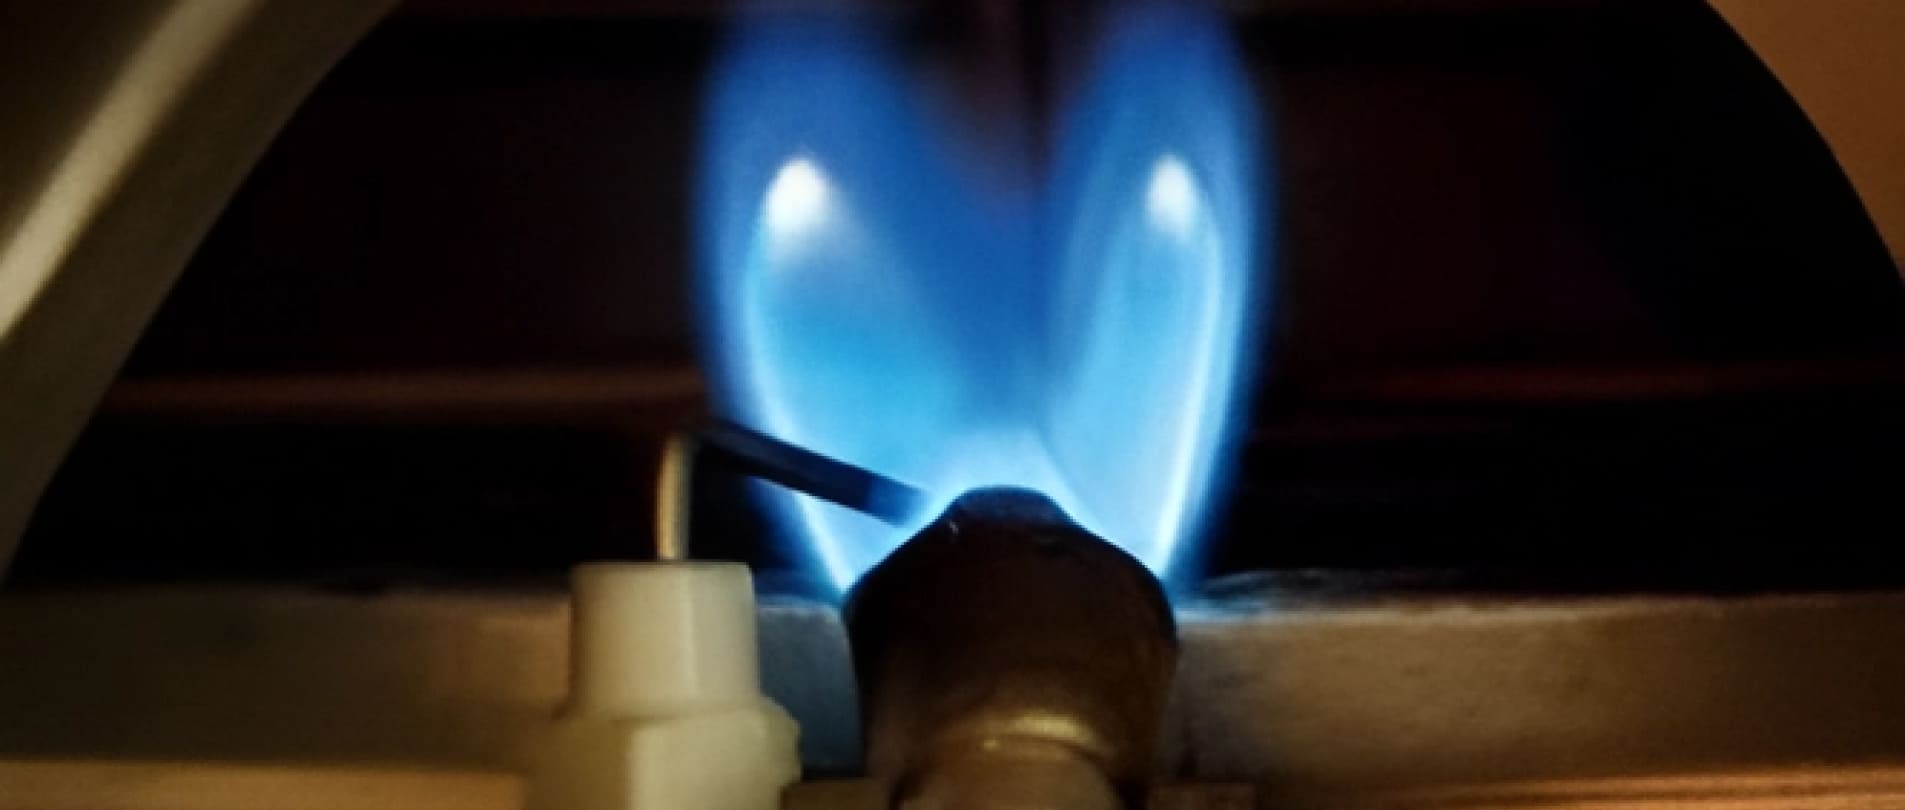
A thermocouple is a safety device on gas-powered water heaters. It consists of two metal wires welded together at one end and connected to the gas control valve at the other. When the pilot light burns, the thermocouple generates a small electrical current that signals the gas valve to stay open. If the pilot light goes out, the thermocouple stops producing this current, shutting off the gas supply to prevent leaks. Think of it as your water heater’s “guardian” – it keeps you safe while ensuring consistent operation.
How long should a thermocouple last on a water heater?
In most cases, a well-made thermocouple lasts around 5 to 10 years. Its longevity depends on factors such as water heater usage, environmental conditions, and maintenance. Frequent cycling, excessive moisture, or debris buildup may shorten its lifespan.
Furthermore, if you’ve been using the same thermocouple for a decade or more, it’s wise to consider changing before it fails unexpectedly. Staying proactive not only ensures consistent hot water but also reduces the likelihood of major gas control issues. By keeping an eye on the thermocouple and making routine checks, you can enjoy a stable supply of hot water for years.
Symptoms of a bad thermocouple on a water heater
Identifying a faulty thermocouple is essential for timely changing. Early detection helps you avoid sudden cold showers and potential safety concerns. By recognizing specific issues, you can decide when it’s time to change thermocouple or seek professional guidance.
Below are four key indicators that your thermocouple might be malfunctioning:
- Pilot light doesn’t stay on When your pilot light repeatedly goes out without any clear reason, it often points to a failing thermocouple. The sensor may not correctly detect the flame, causing the gas valve to close prematurely. If you must relight the pilot light often, consider replacing the hot water heater thermocouple to keep your system constantly running and avoid dangerous gas leaks.
- Inconsistent hot water supply Fluctuating water temperatures frequently suggest thermocouple trouble. The part might struggle to gauge flame presence, intermittently shutting off gas flow. This leads to erratic heating cycles that leave you guessing when hot water will run out. Before the inconvenience grows, investigate testing and schedule repairs if necessary.
- No hot water A complete lack of hot water can mean the thermocouple is no longer functioning at all. If the pilot light is out and won’t relight, the thermocouple might be the root cause. Prompt changing can restore full functionality. Ignoring this issue can lead to more extensive damage or higher repair costs down the line.
- Visible damage Physical signs of corrosion, bending, or fraying on the thermocouple are strong indicators of wear. Extreme heat over time or exposure to combustion byproducts can accelerate deterioration. If you notice such damage during routine testing, replacing this essential safety component is the best course of action to prevent future performance or safety complications.
Whether you observe a stubborn pilot light or corroded parts, it’s important to act swiftly. Spotting these symptoms early can spare you significant headaches and expense.
How to test a water heater thermocouple?
Testing the thermocouple is a straightforward procedure that can be done with just a few tools and does not require extensive technical knowledge. This process will help you determine whether a malfunctioning thermocouple is the root cause of your water heater problems, allowing you to decide whether it needs cleaning, adjusting, or replacing.
So here’s how to test a thermocouple on a water heater:
- Ensure safety Make sure the water heater is completely powered off and the gas supply is disconnected. This is essential for safety to avoid the risk of fire or explosion. Allow the water heater to cool down before touching any parts.
- Locate the thermocouple Start by accessing the burner assembly where the thermocouple is located. Typically, this is situated near the pilot light. You may need to remove some panels or covers to get to it.
- Use a multimeter Connect the probes of the multimeter to both ends of the thermocouple. When the burner is on, the multimeter should read between 20 and 30 millivolts. If the reading is significantly lower or zero, it means the thermocouple is not generating enough voltage to keep the gas valve open.
By scheduling routine checks, you can ensure your system performs optimally and mitigate the risks associated with a failing part.
How to change a thermocouple on a hot water heater?
Before you dive into this process, ensure you understand the steps in detail. A methodical approach can save you time and prevent further damage. Below, we break down the replacement process into clear stages. If you ever feel unsure, remember professional help from Superior HVAC Service can simplify your project.
Step 1: Turn off gas and power
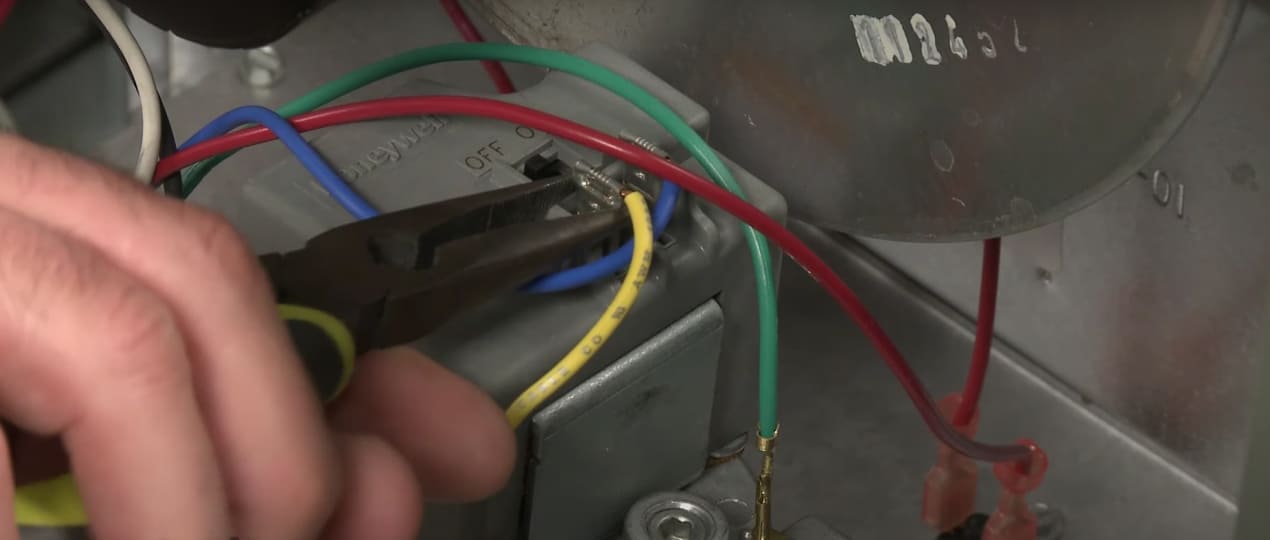
Start by locating the dedicated gas shutoff valve on the supply line that feeds into your water heater, and turn it to the “off” position. For models with electric components, switch the corresponding breaker in your electrical panel to the off position. This dual-power shutdown is vital for preventing accidental ignition or electrical shocks while you change thermocouple on a water heater.
Step 2: Access the burner assembly
Remove the access panel at the bottom of the water heater to expose the burner assembly. You will see the thermocouple connected to the gas valve near the pilot flame tube and burner. Carefully unscrew any screws or nuts that hold the burner assembly in place, and gently remove it, taking care not to damage any connections.
Step 3: Remove the old thermocouple
Carefully pull the thermocouple from its mounting bracket on the burner assembly. It might fit snugly, so a gentle wiggle can help dislodge it. Inspect it for signs of wear or damage. If you notice severe corrosion or bending, you have strong evidence to justify changing thermocouple on a water heater immediately.
Step 4: Install the new part
Align the replacement thermocouple, ensuring it sits at the same angle and position as the old one. Slide or snap it securely into place within the burner assembly bracket. Consult your heater’s manual for specific instructions. Using a high-quality product recommended by the manufacturer can reduce the need for frequent water heater thermocouple testing.
Step 5: Reassemble the water heater
Reattach the burner assembly, pilot tube, and thermocouple connection to the gas valve. Tighten the fittings carefully to avoid leaks but do not overtighten. Restore power and turn on the gas supply. Light the pilot according to your heater’s instructions. If the burner lights and remains steady, you’ve successfully tackled how to replace a thermocouple.
By following these steps, you can replace a faulty part and restore your water heater to working order. This simple yet essential process will help address common issues such as a pilot light that won’t stay on. If you have any doubts, feel free to consult a professional to ensure proper installation and safety.
We can handle various issues, ensuring your Water Heater works at its best.
Order the best specialist in Canada Now (866) 545-6460
REFERENCES
1. Wang, T., Yan, Y., Yuan, Y., Ma, Z., Zhang, A., Chen, Y., & Yu, Y. (2018). An effective method for quality control of the thermocouple. In MATEC Web of Conferences (Vol. 173, p. 01029). EDP Sciences. https://doi.org/10.1051/matecconf/201817301029
2. Bajzek, T. J. (2005). Thermocouples: A sensor for measuring temperature. IEEE Instrumentation & Measurement Magazine, 8(1), 35-40. https://doi.org/10.1109/MIM.2005.1405922