Heat pump thermostat installation might seem like a daunting task, but with the right guidance, it’s easier than you think. In this article, we’ll walk you through everything you need to know about installing your new thermostat – from preparing your space to wiring and configuring the system for optimal performance. Whether you’re replacing an old unit or upgrading to a more advanced model, this guide will help you achieve a smooth installation process and ensure your heat pump works efficiently.
How does a heat pump thermostat work?
A heat pump thermostat is a device used to control the temperature of a heat pump system, which both heats and cools your home. Unlike conventional HVAC systems, heat pumps use a reversing valve to switch between heating and cooling modes.
The thermostat works by sending signals to the heat pump to either heat or cool based on the settings you choose. In essence, the thermostat communicates directly with your heat pump to maintain your desired temperature by adjusting the flow of air and refrigerant.
Key features to consider in thermostats for heat pumps
When evaluating modern programmable thermostats for heat pumps, pay attention to the following features:
- Low voltage test This feature shows when the input voltage is low, providing valuable information about your system.
- Error codes Look for a heat pump thermostat that displays error codes to help you identify and understand the cause of any system malfunctions.
- Minimum compressor off time A minimum compressor shutdown time of 3 minutes is crucial to prevent short-term compressor operation and thereby extend compressor life.
- Programmable temperature settings Setting different temperatures during the day and night allows you to customize comfort and energy efficiency.
- Remote control Choose thermostats that allow you to check the status and control the settings remotely using your smartphone or computer. Keep in mind that this feature may increase the overall cost of the thermostat.
How to install heat pump thermostat in 4 easy steps?

Now that you understand what a heat pump thermostat is and how it works, let’s dive into the installation process. Installing a new part requires patience, careful preparation, and attention to detail. Follow our step-by-step instructions on how to install the heat pump thermostat:
Step 1: Preparing for installation
Before you begin installing your new thermostat, it’s essential to prepare the workspace. Turn off the power to your heat pump system at the breaker box to avoid electrical hazards.
You’ll also need a few tools for the job, including a screwdriver, a level, and a drill. Ensure you have the right replacement thermostat for your heat pump model. It’s also helpful to label the wires connected to your old thermostat to ensure proper connections later on. Proper preparation will make the process smoother and safer.
Step 2: Removing the old part
Once the power is off, remove the old thermostat from the wall. Begin by unscrewing the cover plate and then the base of the thermostat. You’ll likely see several wires attached to the terminals. Take care when disconnecting these wires to avoid damaging the connections.
It’s a good idea to take a photo of the wiring configuration before removing the old thermostat. This will help you correctly wire the new unit later. Be cautious when handling electrical connections—if you’re unsure, it’s always best to consult a professional.
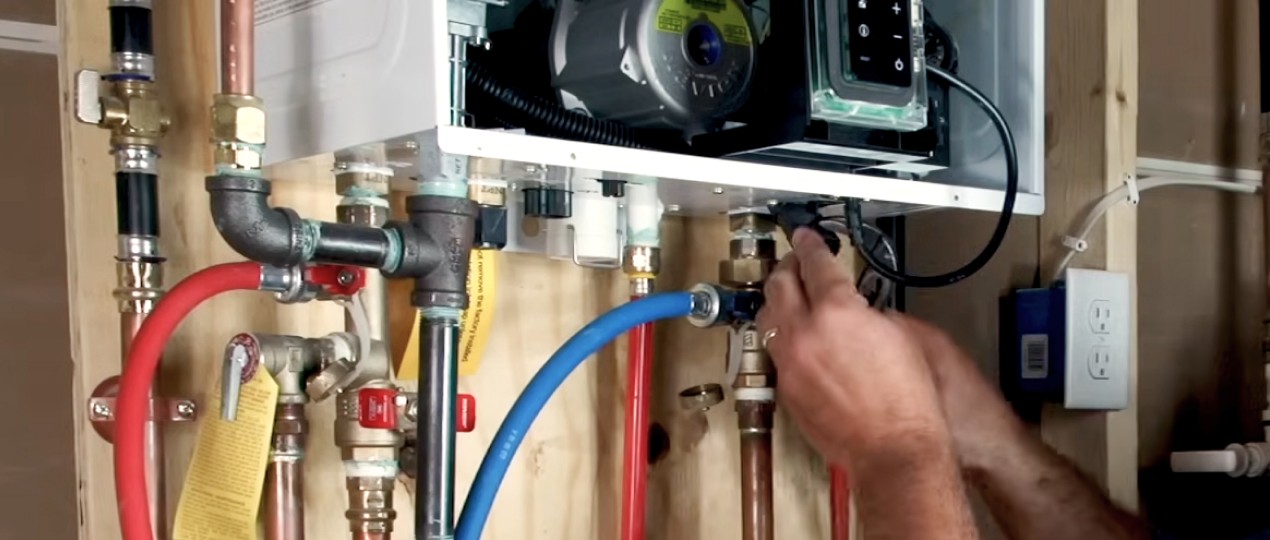
Step 3: Heat pump thermostat wiring
Proper wiring is crucial when installing a heat pump thermostat. Heat pumps require a specific wiring setup to ensure they operate correctly. Typically, you will connect wires to terminals marked with letters like “R” (power), “Y” (cooling), “W” (heating), and “C” (common). It’s vital to match the correct wires to their corresponding terminals according to the labels.
Some systems also have a terminal for an auxiliary heat source. Double-check that all connections are secure and that no wires are loose or touching. Improper wiring can lead to malfunction or even damage the heat pump system.
Step 4: Configuring and testing
Once the thermostat is installed and wired correctly, it’s time to configure and test it. Turn the power back on at the breaker box and follow the thermostat’s setup process. Many modern heat pump thermostats allow you to set schedules for heating and cooling, ensuring that your system runs efficiently even when you’re not home. Test the system by switching between heating and cooling modes to ensure the thermostat responds accurately.
You should also check that the temperature displayed on the thermostat matches the actual room temperature, confirming that the sensors are working correctly.
When to call a professional
By following the steps outlined in this guide, you can ensure that your new thermostat is installed and working correctly. However, remember that thermostat installation, wiring, and system testing should always be done with care. If you’re unsure at any stage, it’s important to consult a licensed professional.
At Superior HVAC Service, we offer expert installation and repair services to ensure your heat pump system runs at its best. While this guide provides educational information, we recommend that any installation or repair work be carried out by licensed professionals to guarantee safety and functionality. Let our HVAC contractor in London, Hamilton & Toronto handle the technicalities so you can enjoy a well-maintained, efficient system in your home.
Our team can solve any problem, guaranteeing a long-lasting result.
Order the best specialist in Canada Now (866) 545-6460
REFERENCES
1. Tamas, R., O’Brien, W., & Agee, P. (2024). Thermostat standardization, technology trends, future considerations: Expert interviews. Energy and Buildings, 325, 114946. https://www.sciencedirect.com/science/article/abs/pii/S0378778824010624
2. Peffer, T., Aczel, M., Heinemeier, K., Pingatore, C., & Chung, E. (2024). Smart Thermostats Plus Heat Pumps: Incompatible? Or Just Need Counseling?. https://escholarship.org/uc/item/02b1g4p8