A properly functioning furnace gas valve is essential for consistent heating performance in residential or commercial spaces. When this component malfunctions, it can lead to poor ignition, unstable flames, or complete furnace shutdown. Whether you experience unusual smells, inconsistent heating, or irregular burner operation, you might suspect a problem with your gas valve.
Let’s define the entire process: from basic understanding of how the valve works, to identifying warning signs of potential issues, to the step-by-step approach of how to replace furnace gas valve in a safe manner. We will also discuss common reasons behind furnace gas valve problems and how to stay alert to early indications of malfunction. Let’s begin our journey toward a more reliable heating system.
What is a furnace gas valve and why replace it?
In the simplest terms, a furnace gas valve is the device that regulates the flow of natural gas or propane into the furnace’s combustion chamber. When your thermostat calls for heat, the valve opens to allow the appropriate amount of gas to ignite the burners, ensuring efficient and controlled combustion. Without this key component, your furnace would be unable to produce heat reliably.
Over time, wear and tear can cause issues such as furnace gas valve leaking, sticking, or failing to operate correctly. In severe cases, repair might not be feasible, raising the question of furnace gas valve replacement cost and whether a replacement is more suitable than an attempted fix. A malfunctioning valve can lead to hazards and inefficiencies, so recognizing symptoms is crucial.
Understanding the role of a gas valve in your furnace
The gas valve in your furnace interacts with several other components to maintain a seamless heating cycle. Once the thermostat signals a heat request, the control board checks safety mechanisms like the limit switches and the igniter’s readiness. If all conditions are safe, the valve opens to let a regulated amount of fuel flow.
Combustion occurs, generating the warmth that circulates through your ducts. If a malfunction like furnace gas valve not opening or gas valve on furnace not opening arises, the furnace may attempt ignition repeatedly but fail to light. Alternatively, if the valve sticks open or closed, you may see incomplete combustion or no heat at all. Identifying signs early can save you from sudden breakdowns and maintain optimal heating performance throughout cold seasons.
Common reasons for gas valve malfunction
Gas valves can malfunction due to various factors, including dirt buildup, corrosion, or electrical failure within the solenoid coils. Fluctuations in gas pressure, improper installation, or general wear over time can also lead to furnace gas valve not working as intended. Some homeowners wonder, can a furnace gas valve be repaired if it starts malfunctioning; in many cases, it depends on the nature of the defect.
A worn-out valve gasket, for instance, can lead to noise or minor leaks, prompting serious concerns for safety. Inconsistent flame signals triggered by a faulty sensor or an aging control module can prevent the valve from cycling correctly. Awareness of these root causes helps you perform timely troubleshooting and make informed decisions about maintenance or replacement.
Bad furnace gas valve symptoms and signs
Several indicators point to a failing valve, including furnace gas valve not clicking when you expect ignition and persistent factors such as weak flames or continuous burner lockouts. Any noticeable gas odor around the furnace area could signal leaking, which requires immediate attention. Intermittent or short heating cycles may also suggest that the valve is sticking or failing to open completely.
Sometimes the valve opens partially, causing only minimal heat output. Keep an eye on the flames: irregular color, size, or flickering indicates incomplete combustion linked to faulty gas valve on furnace systems. When repeated resets or mechanical tapping become the norm, it’s often a sign the valve is past its prime. In such cases, replacement is the most reliable solution.
Safety precautions to follow before replacing a gas valve

Prior to disassembling any furnace component, knowing how to check a furnace gas valve is vital. Working with gas lines carries inherent risks, and failure to implement correct procedures might lead to dangerous leaks or even explosions. Furthermore, ensure that all electrical connections are switched off to avoid electric shock. Adequate ventilation remains crucial during the replacement process, as residual gas can accumulate if not handled properly.
Each step is designed to keep you, your household, and your equipment safe throughout the replacement procedure:
- Shutting off gas and power to your furnace.
- Ensuring proper ventilation and carbon monoxide monitoring.
- Tools and parts you’ll need for gas valve replacement.
- Choosing the correct replacement gas valve.
- Verifying the valve’s compatibility and safety features.
After following these precautions, you significantly reduce the risks associated with valve replacement. Proper preparation ensures a smoother, safer process from start to finish. If any step seems beyond your comfort level, consider contacting professionals like Superior HVAC Service to guarantee expert handling of your furnace setup and overall home safety.
Diagnosing a faulty furnace gas valve
Detecting a malfunctioning valve involves a mix of observational clues and technical tests. Begin by looking for bad gas valve furnace symptoms, such as weak or inconsistent flames, extended ignition times, or unusual odors. Next, listen for abnormal sounds or repeated clicking attempts that may indicate a furnace gas valve failure. In some instances, the valve may cycle irregularly, preventing the burners from establishing a consistent flame.
To determine if the valve is truly at fault, you can measure voltage at the valve terminals when the thermostat calls for heat. If correct voltage is present but the valve fails to open, it’s likely a mechanical issue. You might also wonder how to check bad gas valve on furnace more thoroughly. If results are inconclusive, an HVAC expert can perform deeper diagnostics to uncover hidden faults.
Step-by-step guide of how to replace gas valve on a furnace
The replacement process demands both knowledge and precision. Before you begin, confirm that you have disconnected all power sources and have turned off the gas supply. Study the furnace manual to identify specific instructions related to your model. While many people consult guidelines, it’s crucial to note small details such as gasket positions or the sequence of wire connections.
By properly labeling each wire and taking photos, you can reduce errors during reassembly. If you find the existing valve severely damaged, question whether the total cost fits your budget versus a more substantial furnace upgrade. Still, in many cases, learning how to replace it independently can be a cost-effective solution, provided you adhere to local building codes and safety guidelines. Once ready, proceed with caution to remove and install components carefully.
Removing the old gas valve
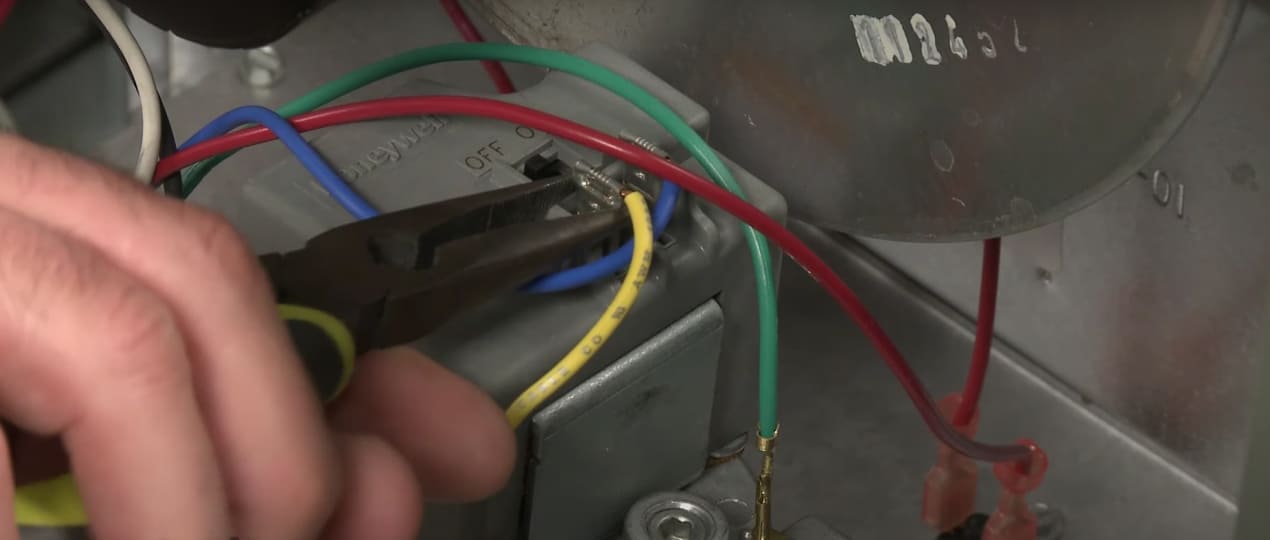
Begin by loosening the fittings on both sides of the valve with an appropriate wrench. You might need pipe sealant remover if old compound or tape clings to the threads. Carefully detach electrical connections and mark each wire if they’re color-coded similarly. If you notice any signs of leaking or corroded threads, proceed gently to avoid gas line damage.
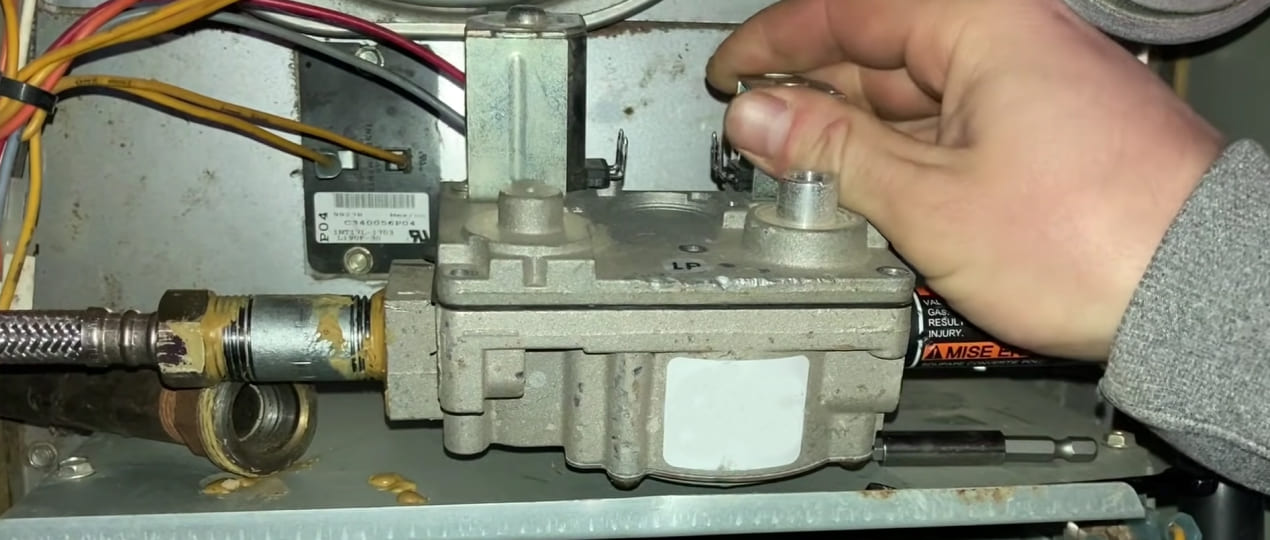
Once disconnected, remove the old valve entirely. Check for debris or blockages in the line and clear them out if necessary. This is also a good time to inspect the manifold orifices. By methodically removing each piece, you minimize the chance of mistakes, ensuring the new valve will fit securely later.
Installing the new gas valve safely
Place the new valve in position, aligning the inlet and outlet precisely with the furnace’s gas line. Apply pipe-sealing compound or gas-rated Teflon tape to the threads, ensuring you don’t cover the pipe interior. Tighten all connections firmly but avoid overtightening, which can crack fittings or strip threads.
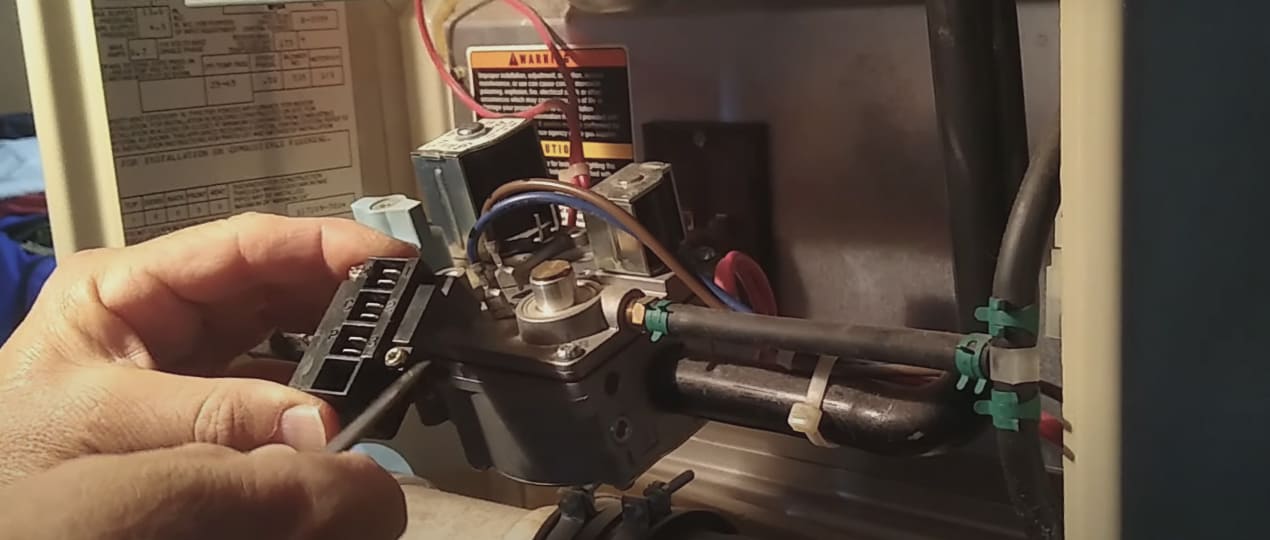
Reattach the wiring harness or individual wires in the same configuration noted during removal. If your valve has integrated pressure regulation, confirm it matches your furnace’s specified inlet pressure. This step is especially critical to avoid troubles due to incorrect pressure. Double-check for correct orientation of the valve. Installing the valve backwards can lead to immediate issues.
Reconnecting gas and electrical lines
Once the new valve is mounted and secure, it’s time to restore connections. Carefully tighten the gas line fitting on the valve inlet. Then, re-establish any unions or couplings in the supply line. Ensure that wiring is attached to the correct terminals based on your labeling system, thereby preventing issues like furnace gas valve won’t open or short-circuiting.
Any miswired connection might lead to stopped operating at all. Visually inspect each joint, verifying that no pipes are bent or pinched. At this stage, do not power on the system yet. Wait until you complete a thorough leak test, which we will explain next, to confirm safe operation.
Testing and verifying the replacement

Validation is vital to confirm that your newly installed valve performs correctly. A comprehensive inspection involves checking for leaks, ensuring proper ignition, and monitoring burner operation. You will also want to pay attention to flame behavior and airflow. If something seems off, further adjustments or re-installations might be necessary.
Review the following procedures to ensure the furnace passes all safety and performance benchmarks:
- How to perform a gas leak test Use a spray bottle filled with soapy water on all connections. If bubbles form, tighten the fitting further. This step helps you spot microscopic leaks quickly.
- Ignition and burner testing after installation Switch on power and gas, then call for heat. Observe the igniter glow and burner flames. They should ignite promptly without any furnace gas valve noise or irregular flame color.
- Ensuring proper furnace operation Check the blower’s performance and overall heat output. If you detect any unusual cycling or if the furnace gas valve troubleshooting reveals anomalies, turn off the system and re-evaluate connections.
- Measuring manifold pressure and flame characteristics Use a manometer to confirm that the valve supplies the proper pressure. Inspect the flame shape and color; a stable, blue flame indicates correct combustion.
- Verifying thermostat and control board signals Monitor the cycle times to be certain the valve responds accurately to thermostat requests. A delayed response might suggest additional calibration is needed.
After completing these steps, your newly installed valve should function smoothly. From leak detection to flame testing, thoroughness is key to safety and efficiency. If persistent issues arise—even after verification—remember you can rely on experts at Superior HVAC Service who are well-equipped to address more complex furnace challenges.
When to call a professional HVAC technician
While furnace owners can address basic valve checks, certain situations demand professional expertise. If you’re unsure how to check a gas valve on a furnace or you face repeated short-cycling that doesn’t improve after basic troubleshooting, it might be time to bring in specialists. Technicians possess the diagnostic tools and certifications to handle intricate tasks, like verifying pressure regulators or tackling that repeatedly misfires.
Below is a concise list of indicators that it’s best to call in the experts:
- You detect strong gas odors near the furnace area.
- Your system constantly locks out or shows error codes.
- The furnace cycles erratically, causing high utility bills.
- You notice soot or visible carbon residue around the burners.
- Any uncertainty about code compliance or safe installations.
Ultimately, professional intervention not only saves you from potential mistakes but also extends the furnace’s lifespan, ensuring optimal comfort and safety in your property. Remember, a reputable service such as Superior HVAC Service offers reliable solutions for a wide range of furnace issues, whether it’s a simple tune-up or a comprehensive valve replacement.
Final thoughts and future actions
Replacing a gas valve is a task that demands respect for safety and technical competence. From detecting failure to exploring fix furnace gas valve strategies or deciding on a full change, ensuring each step is done carefully preserves both comfort and security. If at any point you question your own skill, do not hesitate to seek professional help.
Timely, proper valve maintenance and installation will keep your heating system operating at peak performance, year after year. Contact Superior HVAC Service today to schedule an inspection or service call. Let us handle every detail, so you can enjoy consistent heat and peace of mind throughout the chilly seasons!
REFERENCES
1. Anzai, K. K., Fedor, E., & Zailaa, P. (2018). Furnace System Improvements. https://digitalcommons.calpoly.edu/mesp/456/
2. Walls, J., Pietracupa, F., Boltz, E., & Szymborski, J. (2014). Furnace Controls. https://doi.org/10.31399/asm.hb.v04b.a0005931
